Take an extra $20 OFF BUNDLE PACKS - Use Coupon Code GDAY$20 - Limited Time Only!

Installing Smoke Alarms: A Simple DIY Guide to Mounting ZEN Smoke Alarms – It’s So Easy and You’ll Save a Fortune!

Ever wondered how to install ZEN Smoke Alarms onto your ceiling? You’ll be amazed at how quick and easy it really is! One of the biggest benefits of installing smoke alarms that are wireless and battery-powered is that there’s no need for an electrician—saving you time, hassle, and money.
With ZEN interconnected smoke alarms, we’ve made things even simpler! Our bundle packs arrive pre-connected, so you don’t have to pair them manually. Just turn them on, install them, and you’re good to go. It’s that easy!
In this guide, we’ll walk you through the step-by-step process of installing your smoke alarms, ensuring they’re securely mounted and positioned correctly to keep your home and loved ones safe.
What You’ll Need to Install Your Smoke Alarm
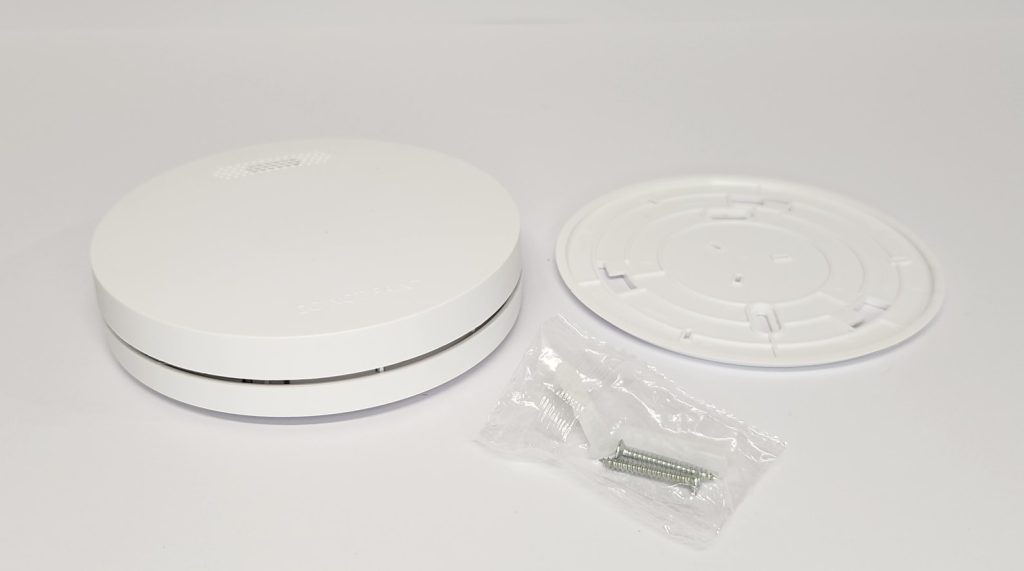
Before you start installing smoke alarms, grab the following:
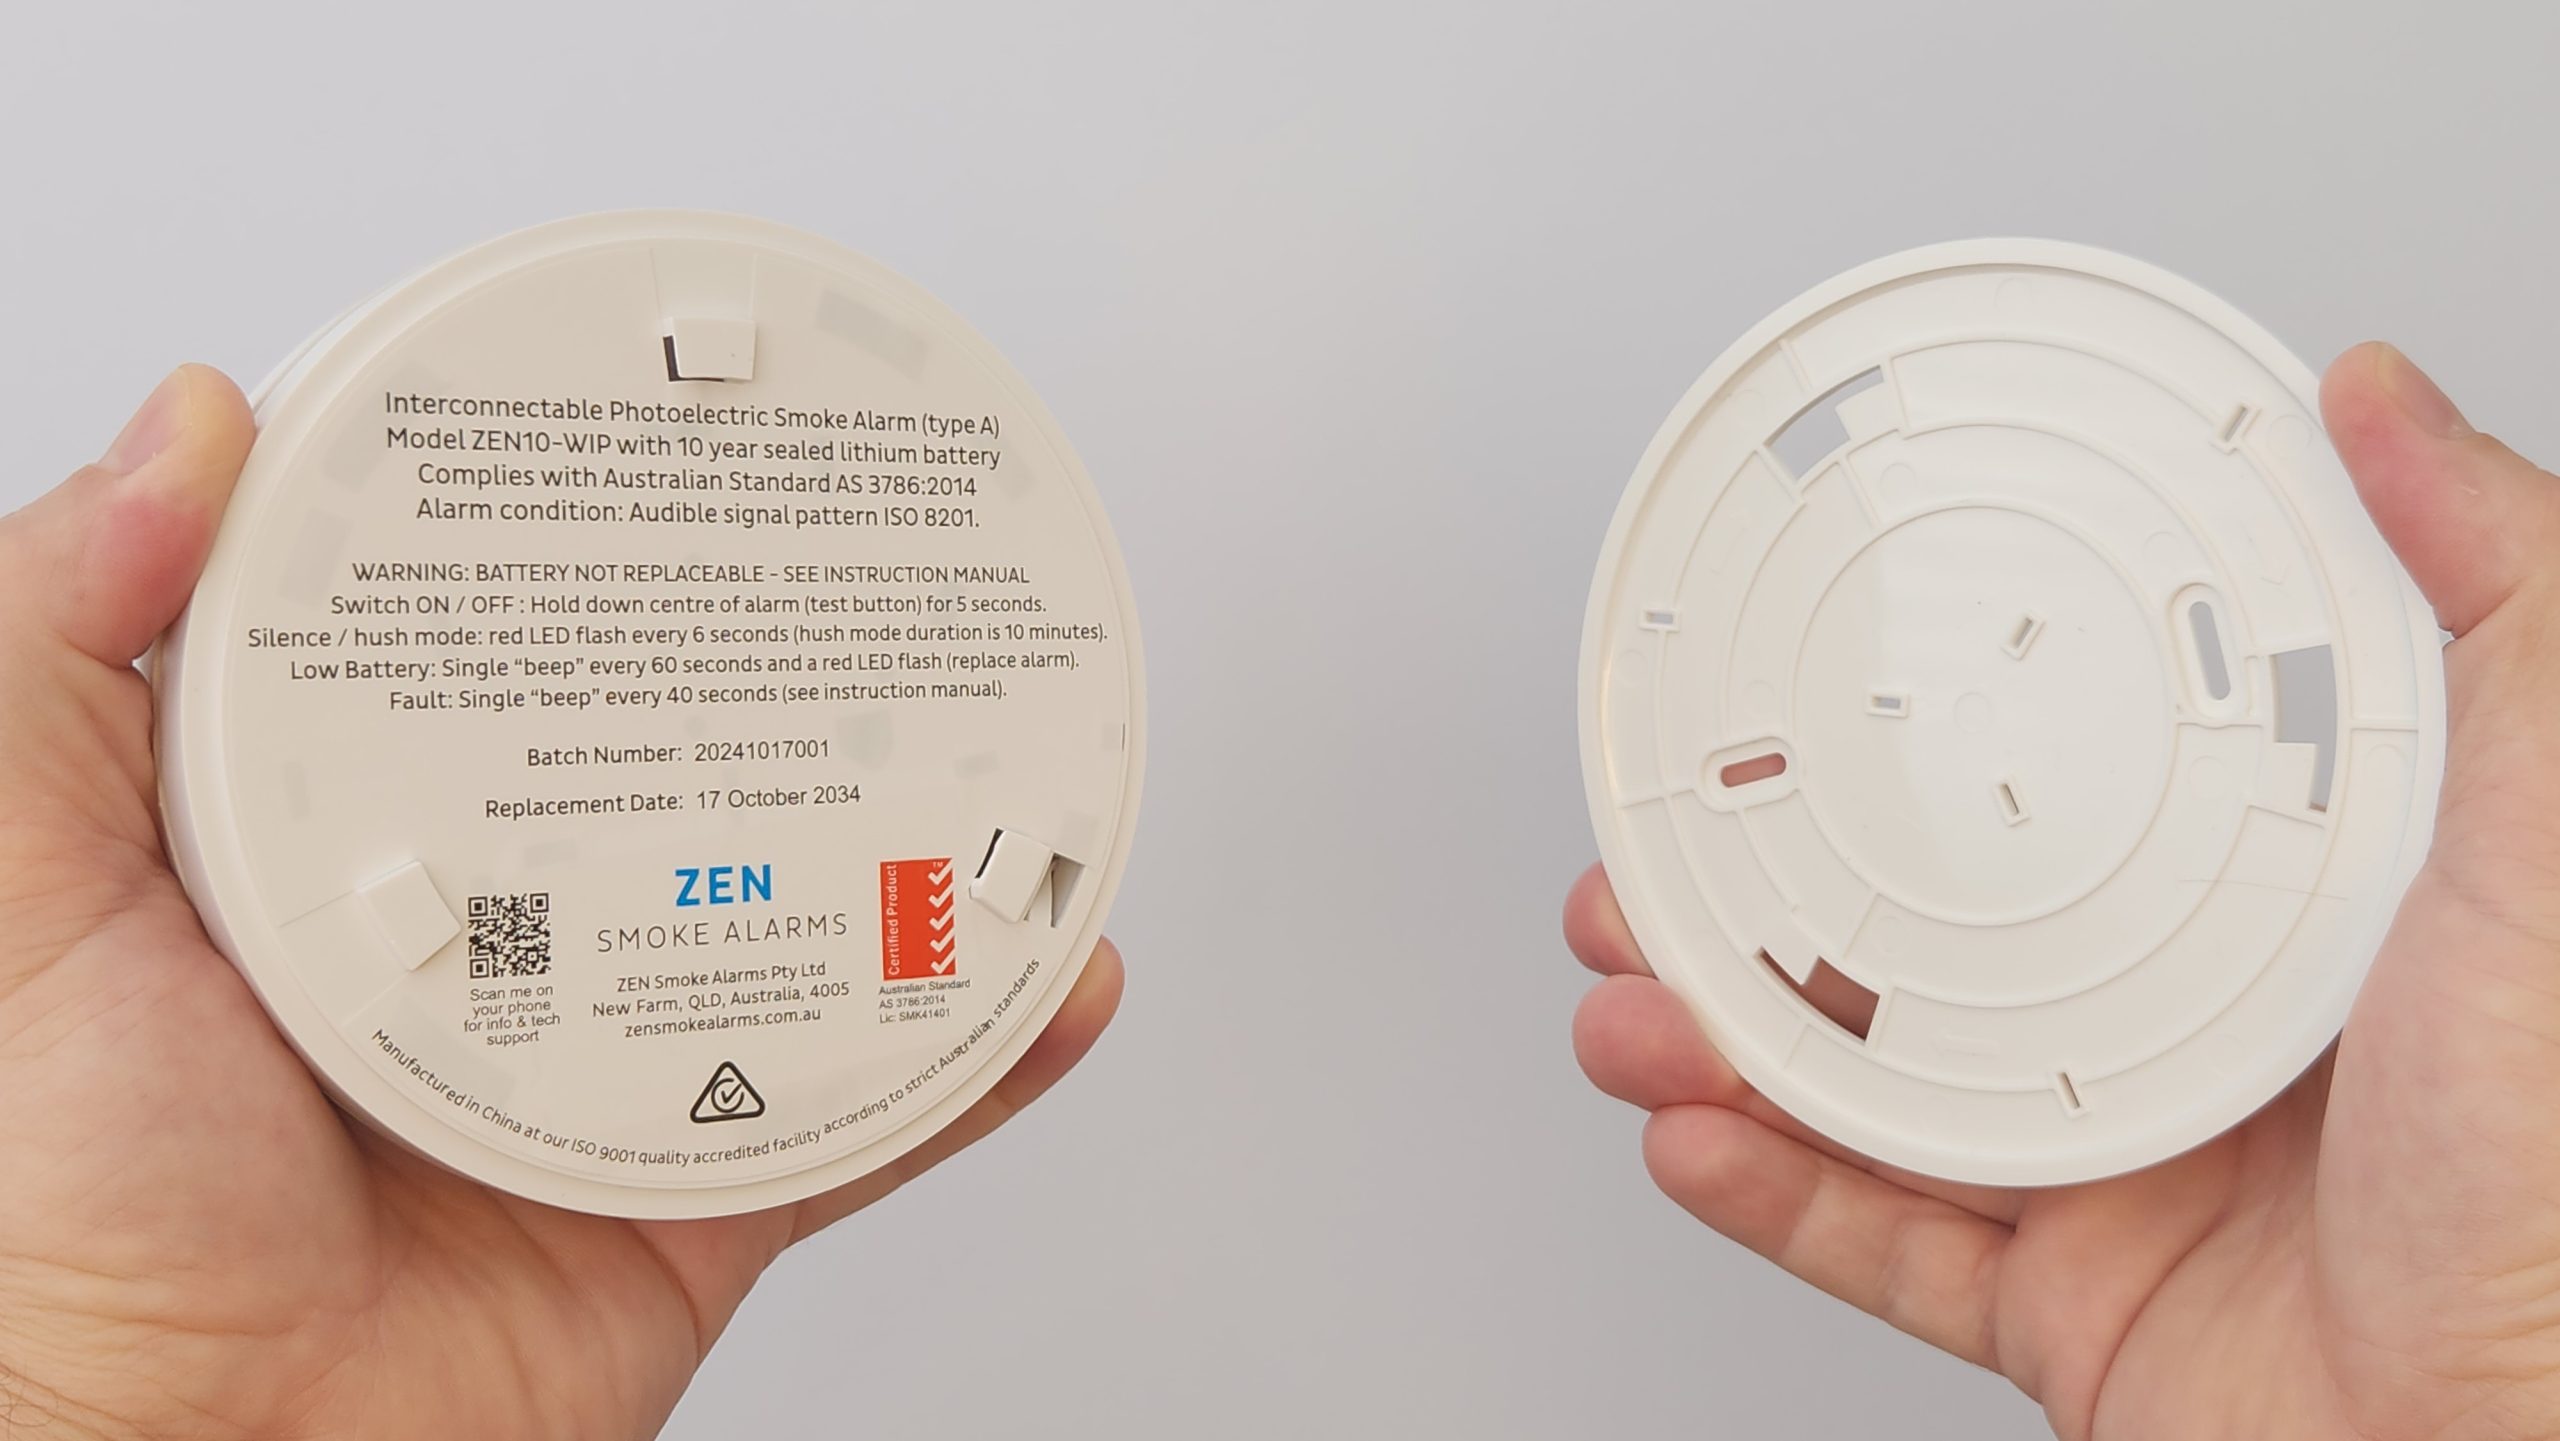
✅ ZEN Smoke Alarm and its rear mounting bracket (included in your purchase)
✅ Screws and anchor plugs (also included)
✅ Screwdriver or cordless drill with a 5mm drill bit
✅ Pencil for marking positions on the ceiling
Now you’re ready to go!
Step 1: Remove the Mounting Bracket
Twist the mounting bracket to detach it from the back of your ZEN Smoke Alarm.
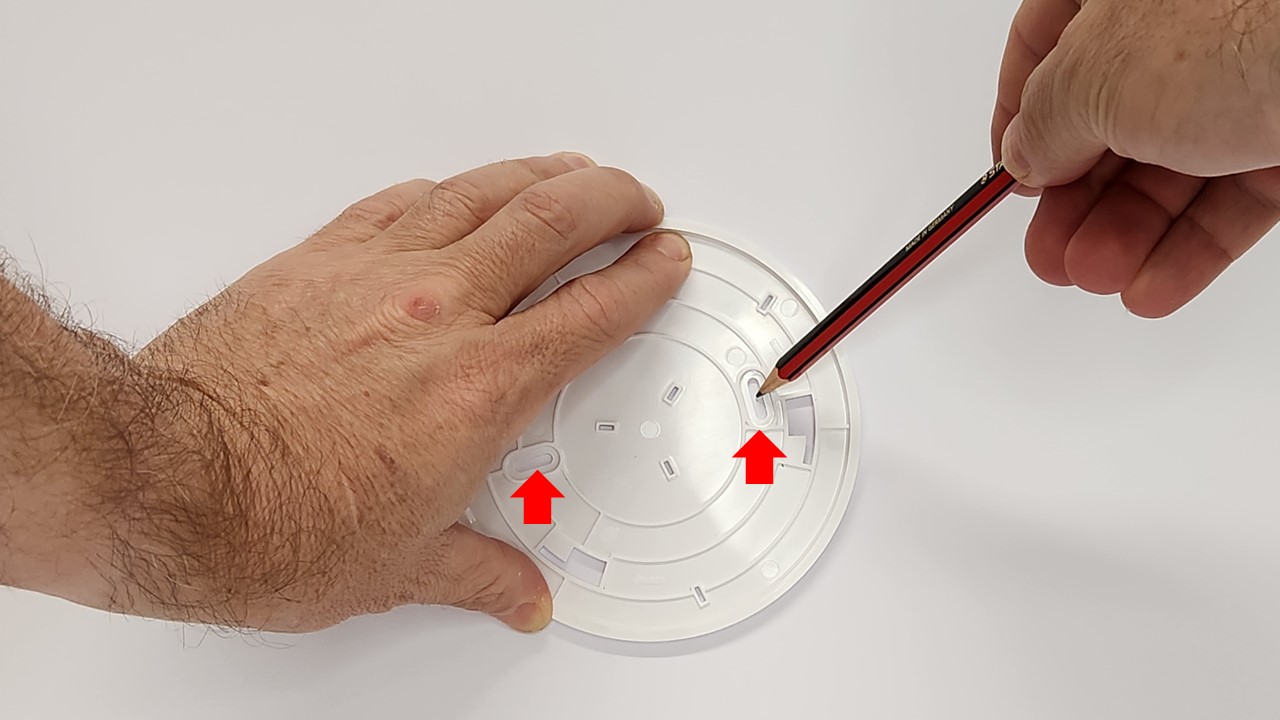
Step 2: Mark the Drill Points on the Ceiling
Hold the mounting bracket against your chosen spot on the ceiling. Use a pencil to mark the two holes where the screws will go as per image above.
Step 3: Drill the Pilot Holes
Using a 5mm drill bit, carefully drill pilot holes at the marked spots. Once done, insert the anchor plugs into each hole. These help secure the screws and prevent them from loosening over time.
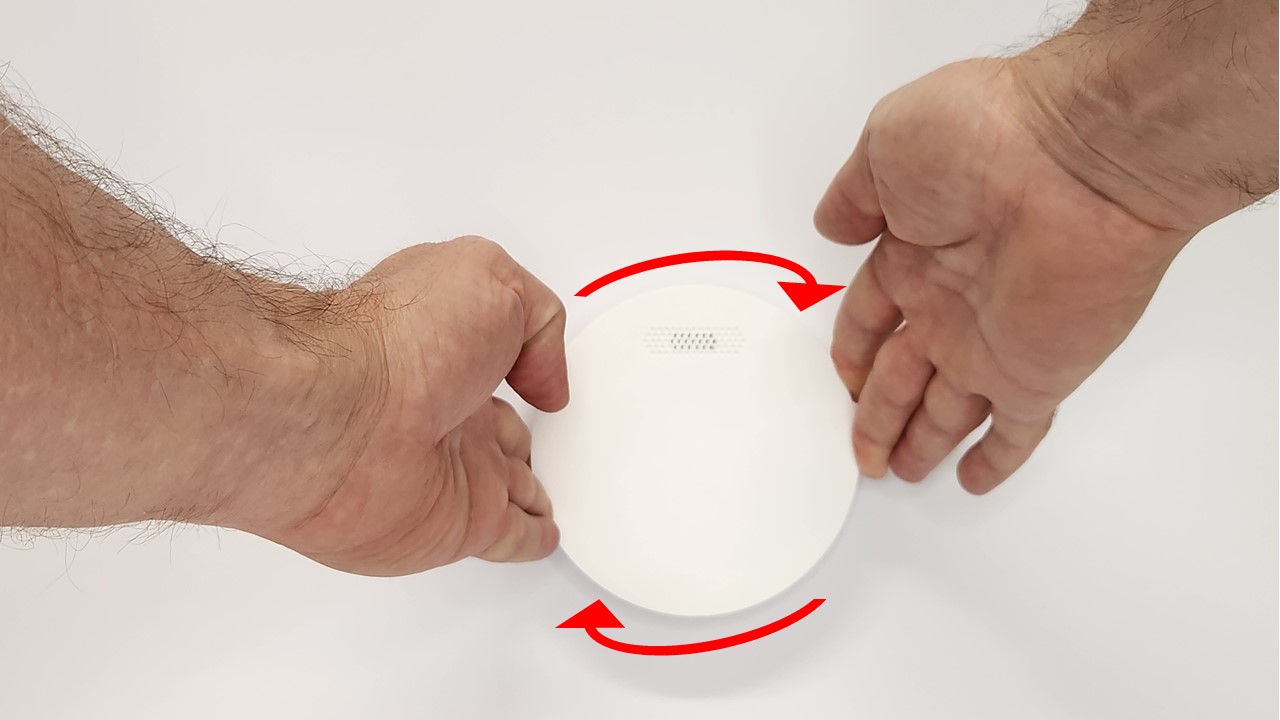
Step 4: Attach the Smoke Alarm
Now, simply twist your ZEN Smoke Alarm onto the bracket until it locks in place.
Step 5: Test the Smoke Alarm
Press the test button on the surface of your smoke alarm. If you have multiple interconnected alarms, they should all activate within about 5 seconds of the first. Let them complete their test cycle—don’t press any other buttons! They will all automatically stop after approximately 10 seconds.
✅ Installation complete! Your smoke alarms are now set up and ready to protect your home.
Where Should You Install Your Smoke Alarms?
Proper placement is key when installing smoke alarms to ensure maximum safety. According to Queensland regulations, here’s where you should place them:
Inside Every Bedroom
All bedrooms must have a working photoelectric smoke alarm installed inside.
Hallways Leading to Bedrooms
If your home has a hallway outside the bedrooms, install a smoke alarm there.
No Hallway? Install on the Escape Route
If there is no common hallway, place a smoke alarm on the nearest exit route or travel path leading out of the home.
Multi-Level Homes? Install on Every Floor
If you have a two-story or multi-level property, you must install at least one smoke alarm on each level.
Avoid These Locations:
🚫 Within 30cm of a wall – smoke can get trapped in ‘dead air space’ and delay alarm activation.
🚫 Near light fixtures (30cm minimum) – heat and dust can interfere with detection.
🚫 Close to air conditioning vents (40cm minimum) – airflow can push smoke away.
🚫 Near ceiling fan blades (40cm minimum) – moving air may prevent smoke from reaching the sensor.
Pro Tip: When installing smoke alarms, ceiling installation is always recommended over wall mounting for best performance.
Replacing a 240V Hardwired Smoke Alarm?
Read This First!
If you’re replacing an existing 240V smoke alarm, Queensland law states that it must be replaced with another 240V hardwired smoke alarm. This means that if your current alarm is wired into your home’s electrical system, you must install a new hardwired model.
⚠️ Important: Hardwired smoke alarms require an electrician for installation. However, if you’re installing wireless 10-year battery-powered smoke alarms, you can do it yourself.
Avoid These Common Mistakes
When Installing Smoke Alarms
While installing smoke alarms is a simple task, some common mistakes can reduce their effectiveness. Here’s what NOT to do:
🚫 Don’t Use Adhesive or Magnetic Mounting Kits
Although these may seem like an easy solution, they don’t last. Over time, the adhesive weakens, and your smoke alarm could fall from the ceiling—possibly breaking when it hits the floor.
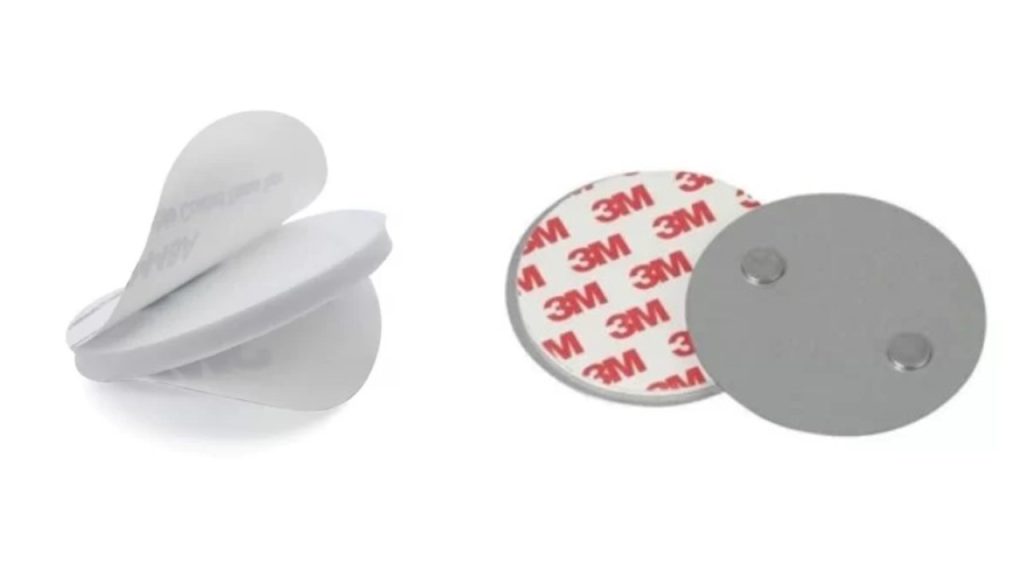
Installing smoke alarms – do not use these adhesive mounts!
We used to sell adhesive and magnetic mounting kits years ago but stopped doing so because because feedback from our customers indicated these products were very unreliable. To keep your smoke alarms securely in place, always use the screws and anchors provided. It only takes a few extra minutes, but it’s worth it!
🚫 Don’t Install in the Wrong Locations
As mentioned earlier, avoid installing smoke alarms too close to walls, vents, lights, and fans—these can prevent proper smoke detection.
🚫 Don’t Forget to Test Your Smoke Alarms Regularly
A smoke alarm is only effective if it works! Press the test button once a month to ensure your alarms are functioning properly.
Why Choose ZEN Smoke Alarms?
At ZEN Smoke Alarms, we make self installing smoke alarms as easy as possible. Here’s why homeowners across Queensland trust us:
✅ No Electrician Needed – DIY installation saves you big $$$ on professional installation fees.
✅ Pre-Interconnected Smoke Alarms – No need to pair them yourself—we do it for you!
✅ 10-Year Sealed Battery – Never replace batteries or deal with annoying low-battery chirps.
✅ Wireless & Reliable – Ideal for homes where hardwiring isn’t an option (e.g., concrete ceilings).
✅ Fully Compliant with Queensland Laws – Meets all 2027 smoke alarm regulations.
Final Thoughts on Installing Smoke Alarms
Installing smoke alarms doesn’t have to be complicated or expensive. With ZEN’s wireless interconnected smoke alarms, you can secure your home in just minutes without hiring an electrician.
Just follow our easy step-by-step guide, ensure correct placement, and test your alarms regularly. A few minutes of effort today can provide years of safety and peace of mind.
Ready to install your smoke alarms? Order your ZEN Smoke Alarm bundle today and enjoy hassle-free, DIY installation! 🚀

Want to know more? Watch our ZEN Smoke Alarm YouTube channel or call us on 0478 596 402 today
We love talking smoke alarms!
ZEN Interconnected Smoke Alarms
New Farm, QLD, 4005